Real production geometry, not a generic template
Button artwork guidelines
A button has three diameters, not one
- Cut line, 2.625 in788 px at 300 DPI
- Make your file this size and fill it edge to edge. The hatched ring is punched with the button and then folded underneath, so it can carry background and nothing else.
- Finished face, 2.25 in675 px at 300 DPI
- The disc you hold. This is the size we sell it as.
- Safe area, 2.063 in619 px at 300 DPI
- Keep text, a logo edge, a face or a code inside here. The button curves away before it reaches its own rim, so art that stops at the face is already tilting out of view.
What happens near the edge
Inside the safe circle
The mark and both lines stay inside the dashed circle, so all of it stays flat and all of it survives the crimp.
Crossing the safe circle
Both lines run past the dashed circle. The ends reach the ring that folds under the shell and are gone, and the shaded band is already tilting out of view.
A border that traces the outline of the button is the hardest thing to get right, because any small shift during punching makes it uneven on one side. If you want a ring, make it thick and keep it inside the safe circle.
Every dimension, and a template for each size
| Size | Per button | Finished face | Safe area | Make your file |
|---|---|---|---|---|
| 1.5 inch | $1.89 | 1.5 in450 px | 1.375 in413 px | 1.837 in551 px+22% vs face (1.2247x)Canva: 1.837 x 1.837 in |
| 2.25 inch | $1.99 | 2.25 in675 px | 2.063 in619 px | 2.625 in788 px+17% vs face (1.1667x)Canva: 2.625 x 2.625 in |
| 3 inch | $2.49 | 3 in900 px | 2.875 in863 px | 3.451 in1035 px+15% vs face (1.1503x)Canva: 3.451 x 3.451 in |
| Pixel figures are at 300 DPI, which is what we print at. Square files, sized to the last column. The bleed is not a fixed 20 percent: the cut diameter is a physical punch size that differs per size, shown here as a percent over the face and as a ratio. The last row of each cell is also your Canva custom canvas size: a square Custom size in Canva using that number for both width and height. | ||||
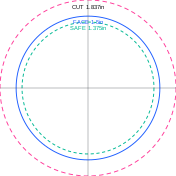
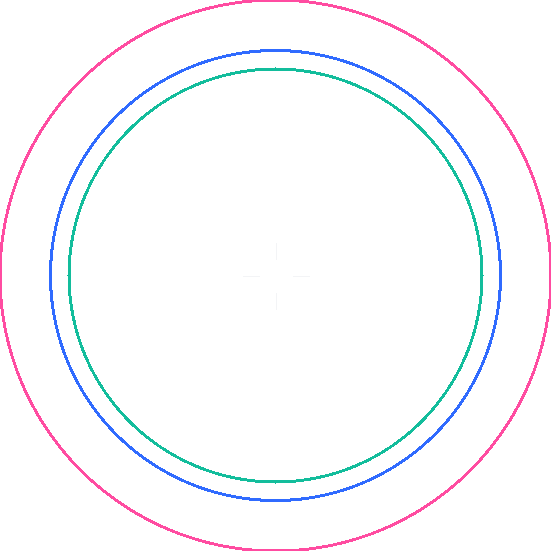
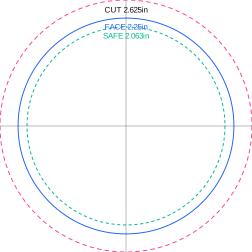
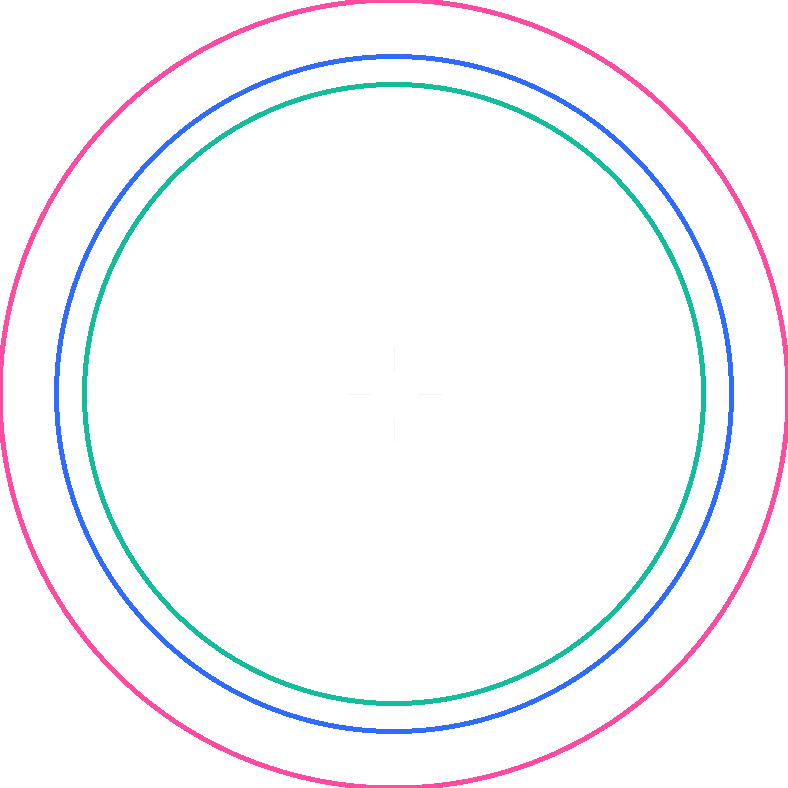
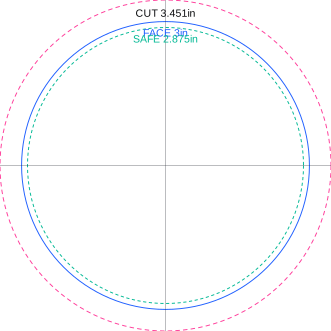
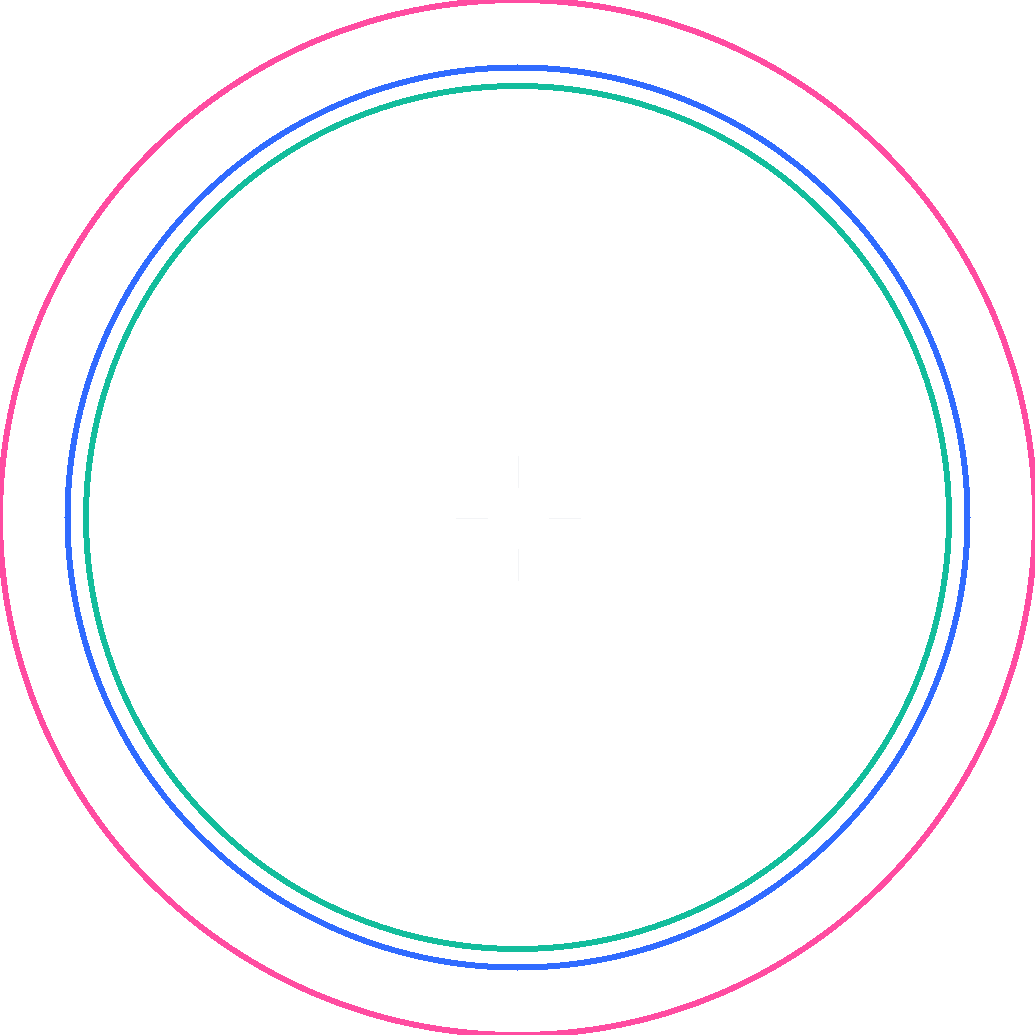
Three formats, and pick whichever your tool actually opens. The SVG has two layers: put your design in artwork and delete or hide guides before you export, because the guides are printing instructions and they will print if you leave them on. It opens in Illustrator, Affinity, Inkscape, Figma and Photoshop. The PDF opens anywhere, including Preview and Acrobat, and prints the same three numbers as readable text. The PNG is a transparent guide overlay for Canva or any layer based tool: drop it on a layer above your design, line the artwork up with the rings, then delete that layer before you download your finished file.
No design software? Canva and a phone both work
In Canva
Create a design at a Custom size, in inches, set to the Canva size shown for your size in the table above: the same number the press cuts to, not a rounded approximation. Fill it edge to edge with no white margin, keep anything readable well inside the safe diameter, then download as PNG or PDF at the highest quality Canva offers.
All I have is a phone photo
That is enough to order from. Take the photo against a plain background in good light, crop it to a square so you choose what is cut off, and upload the original rather than a screenshot, which is captured at screen resolution rather than the photo’s own. You do not need to hit the pixel counts above before you upload: we check every file before it prints and call if a photo is too small for the size you chose.
Resolution, photos and fine detail
If your file has more pixels than the table above asks for, nothing is lost. If it has fewer, it has to be enlarged to reach the edge, and enlarging adds no detail that was never captured: you get a file that passes a resolution check and a print that still looks soft. That is why a logo saved off a website or lifted from a slide deck is usually a problem at 3 inch and usually fine at 1.5 inch.
Vector artwork has no resolution at all, so a PDF export sidesteps the question completely and is the best file you can send. We keep your original upload and derive the production file from it rather than from a preview, and if what you send is too small for the size you chose, we tell you before it is printed.
File formats
| Format | Use it for |
|---|---|
| Design software output. A vector PDF scales to any diameter with no loss. | |
| PNG | A logo, especially with a transparent background. Export at the pixel size in the table above. |
| JPG | A photograph, saved at the highest quality your software offers. |
| Screenshots | Avoid. Captured at screen resolution, a fraction of print resolution. |
Text, lines, codes and color
| Element | What to do |
|---|---|
| Small text | Set your design to real finished size on screen at 100 percent zoom and read it from two feet away. On the 1.5 inch face a tagline usually has to come off. |
| Thin lines | A hairline or one pixel stroke can thin to nothing in print. Thicken any outline, border or keyline before you upload. |
| QR codes | Keep it well inside the safe area, dark on light, URL short, tested with a phone on the printed button. The 3 inch face gives a code the most room. |
| Color and contrast | Pale tints and subtle gradients read flatter in print than on a backlit screen. High contrast survives best and reads across a room. |
Using someone else's logo or mark
You need the right to use a logo, mascot or design before you upload it, whether that is because you own it, your employer or school does, or the owner has given you permission. Professional and college sports marks in particular are licensed property and are actively enforced by their leagues and schools, so a fan-made design built around one is a different situation from your own logo even when nobody is selling it.
We may ask where a mark came from before we print it, and we are not lawyers: we cannot tell you whether a particular use is licensed, fair use or an infringement. If you did not create the artwork and are not certain you can use it, that is a question for whoever granted the rights, not for us.
Before you upload
Your file is square and covers the full cut diameter, not the finished diameter.
Your background reaches all four edges. No white margin, no transparent corner.
Every word, logo edge, face and code sits inside the safe circle.
The file has enough real pixels for the size you chose, or it is vector.
Nothing important traces the outline of the button.
You have looked at it on screen at the real finished size.
If any of that is uncertain, upload the file anyway and call 631-458-3842. We look at every file before it is printed and we get in touch if something needs a decision rather than guessing on your behalf.